自家製烏冬 Homemade Udon
2014 年 10 月 24 日發佈 HeidiMom媽媽札記
列印
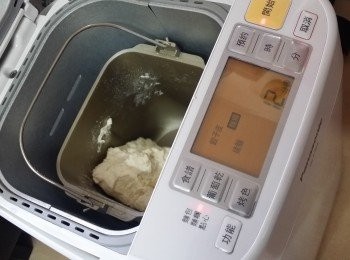
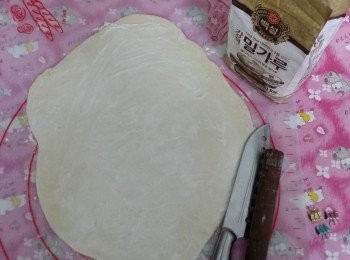
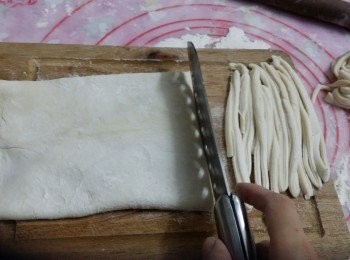
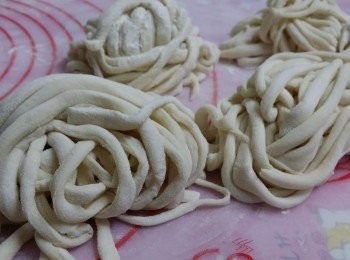
雖說這是麵包機食譜, 其實機搓完後,麵糰還是要人手拉拉擀擀一番才好吃!所以,別因沒麵包機而卻步,所有機做的部份改為人手便可。大家一起動手吧!
Youtube:
自家製烏冬 Homemade Udon:http://youtu.be/JFD43ouhqtg
Facebook專頁:HeidiMom 媽媽札記
https://www.facebook.com/heidimom.diary
Youtube:
自家製烏冬 Homemade Udon:http://youtu.be/JFD43ouhqtg
Facebook專頁:HeidiMom 媽媽札記
https://www.facebook.com/heidimom.diary
TIPS
1.麵條一般全用中筋粉即可,製成烏冬多數口感比較軟。加入高筋粉可讓口感更煙韌。鹽是令麵糰Q彈的重要成員,不要省略啊!
Adding Bread Flour and salt can make the noodles more al dente.
2.在日本,此步驟或用腳取代。把摺好的麵糰放進袋中,用厚手巾包裹,放在地上用腳踩平,拿出麵糰摺疊好,再放回袋中,重覆動作15﹣20分鐘。
In Japan, feet may be used in this step. Put the folded dough into a plastic bag, wrap it with thick towel and step on to make it flat. Take out the dough, fold, and put it back into the bag. Repeat the above steps for 15-20mins.
3.我試過把烏冬放在冰箱(4℃),翌日煮,口感又硬又碎,不好吃。所以建議放冷藏格(0℃以下)
I've tried to put the udon into the refrigerator and cooked on the next day. But the texture of udon is different! Hence, freeze the noodles asap after made.






討論 暫時沒有留言。